An affordable shotgun microphone can capture clean, usable dialogue, but price alone does not determine whether a recording sounds professional. Microphone distance, room acoustics, wind protection, mounting, recorder noise and gain settings all matter.
The five models below cover two distinct workflows: XLR microphones intended for cameras, recorders and boom poles, and a compact 3.5mm microphone designed primarily for direct camera mounting. This is a specification and workflow comparison based on manufacturer documentation, not a claim that the microphones were tested under identical conditions. Prices and availability can also change, so confirm both before buying.
Key Takeaways
- Placement matters more than the word “shotgun.” A microphone close to the speaker generally captures a stronger voice and less room sound than one left several feet away on a camera.
- XLR and 3.5mm models solve different problems. XLR microphones suit recorders, mixers and boom operation, while 3.5mm camera microphones prioritize speed and portability.
- Power requirements must match your equipment. Some models accept phantom power and a battery, while the Shure VP82 requires phantom power.
- Directionality reduces sound arriving from some angles; it does not erase background noise.
- There is no universal best pick. The right choice depends on mounting position, connection type, available power and the environments in which you record.
How Shotgun Microphones Work
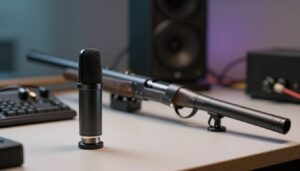
A shotgun microphone combines a directional capsule with an interference tube. Sound arriving from the front reaches the capsule more directly. Sound entering through openings along the tube arrives by multiple paths, allowing some off-axis frequencies to partially cancel.
This creates a narrow forward pickup region, commonly described as a line-gradient, supercardioid or lobar response. The exact pattern changes with frequency, so a shotgun microphone is not equally directional across the entire audible range. It may also retain some rear sensitivity.
For a closer look at how angle and frequency affect isolation, see what off-axis rejection means in practical recording.
A shotgun microphone does not magnify distant sound like a camera lens. Moving it closer improves the balance between the wanted voice and surrounding noise. This is why a modest microphone on a well-positioned boom can be more useful than a costlier microphone left on the camera across the room.
Reflective interiors present another challenge. Sound bouncing from walls, ceilings and hard floors reaches the interference tube from several directions and can produce uneven coloration. If dialogue becomes hollow or phasey indoors, the room and placement may be responsible rather than a defective microphone.
Specifications That Matter
Connection and Power
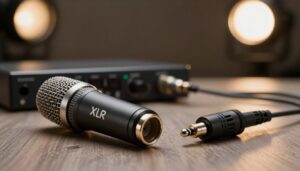
An XLR microphone connects to a compatible camera, mixer, interface or field recorder. XLR connections are balanced and mechanically secure, but the microphone may require phantom power or an internal battery. A 3.5mm microphone is easier to connect directly to many cameras, although input wiring and plug-in-power requirements vary by device.
Before choosing, compare the practical differences between XLR and 3.5mm shotgun microphones. If your preferred model relies on an XLR input, also confirm whether your recorder supplies the required phantom power.
Frequency Response
Frequency response describes the range a microphone is designed to capture and how its output changes across that range. A published range does not reveal the full tonal character; the manufacturer’s response graph is more informative than the endpoints alone.
A response extending to 20 Hz is not automatically better for dialogue than one beginning at 40 or 90 Hz. Very low frequencies often contain traffic vibration, handling thumps and wind energy rather than useful speech information.
Self-Noise and Sensitivity
Self-noise becomes more noticeable when recording quiet speech, distant subjects or subtle ambience. Sensitivity indicates how much electrical output the microphone produces for a given acoustic level. It should be considered alongside the noise performance of the camera or recorder rather than treated as a stand-alone quality score.
Maximum SPL
Maximum sound pressure level indicates how loud a source can become before the microphone reaches a stated distortion threshold. It matters for engines, amplified music and other loud sources, but it is rarely the deciding specification for normal spoken dialogue.
Filters, Pads and Output Controls
A low-cut or high-pass filter can reduce low-frequency rumble before it reaches the recorder. A pad helps when a source or microphone output is too strong for the input. An output boost can be useful with cameras that have noisy microphone preamps, provided the camera input is adjusted to avoid clipping.
Five Budget-Conscious Shotgun Microphones to Consider
- Sennheiser MKE 600: a versatile XLR choice with phantom and AA-battery operation.
- RØDE NTG4+: an XLR model with an internal rechargeable battery and onboard controls.
- RØDE VideoMic Pro: a compact 3.5mm camera microphone with adjustable output level.
- Audio-Technica AT897: a battery-or-phantom XLR microphone with unusually long stated AA-battery life.
- Shure VP82: a short, lightweight, phantom-powered XLR microphone.
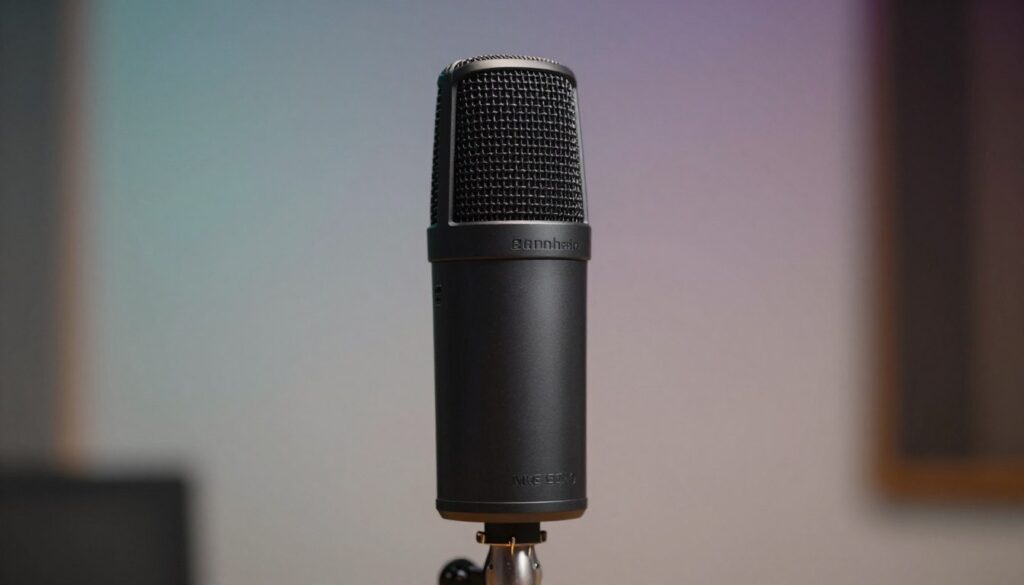
1. Sennheiser MKE 600: The Most Flexible XLR Option
The Sennheiser MKE 600 is a supercardioid/lobar shotgun microphone designed for video and field production. Its most useful feature is flexible powering: it can operate from 48-volt phantom power or one AA battery.
Sennheiser specifies a 40 Hz to 20 kHz frequency response, approximately 150 hours of AA-battery operation and a weight of 128 grams without the battery. Its switchable low-cut setting attenuates frequencies below 100 Hz to reduce wind and impact noise.
The MKE 600 is a practical choice when one microphone must move between a phantom-powered recorder and a camera setup without phantom power. Battery operation also provides a fallback if a recorder’s phantom supply is unavailable.
Best suited to: interviews, documentary work, small crews and users who want one XLR microphone for both camera and boom setups.
Consider before buying: it is 256 mm long, so a suitable shock mount and wind protection add size to a compact camera rig. A camera without XLR inputs may also require the correct cable or adapter.
2. RØDE NTG4+: Useful Controls and Rechargeable Power
The RØDE NTG4+ is an XLR line-gradient microphone that can run from P48 phantom power or its built-in rechargeable lithium-ion battery. RØDE states that the internal battery provides more than 150 hours of operation per charge.
Its controls include a 75 Hz high-pass filter, a high-frequency boost and a -10 dB pad. These functions are useful when moving between dialogue, louder sources and different wind-protection systems. The published specifications include a 20 Hz to 20 kHz range, 16 dBA equivalent noise and a maximum SPL of 135 dB.
The rechargeable battery removes the need to carry disposable cells, but it also means charging becomes part of the pre-shoot routine. For longer jobs, check the battery before packing and confirm that the charging cable is in the kit.
Best suited to: boom operation, interviews and location recording where onboard filters and a pad are helpful.
Consider before buying: it is an XLR microphone rather than a direct 3.5mm camera solution. A recorder, mixer, XLR-equipped camera or compatible adapter is required.
3. RØDE VideoMic Pro: The Simple On-Camera Choice
The RØDE VideoMic Pro is built around a different workflow from the XLR models in this list. It mounts on a camera, connects through a 3.5mm output and runs from a 9-volt battery.
RØDE specifies a 40 Hz to 20 kHz frequency range, an 80 Hz high-pass filter and three output settings: -10 dB, 0 dB and +20 dB. The +20 dB setting can supply a stronger signal to a camera input, potentially allowing the camera’s own gain to be reduced. Levels still need to be checked because an output boost can overload the input if the source becomes loud.
The microphone incorporates a Rycote Lyre suspension to reduce vibration reaching the capsule through the camera. RØDE states that an alkaline 9-volt battery provides more than 70 hours of operation.
Best suited to: solo filming, event coverage, vlogging and other situations where a compact camera-mounted setup is more important than XLR connectivity.
Consider before buying: camera mounting limits how close the microphone can get to the subject. It can improve on a camera’s built-in microphone, but it cannot compensate for excessive recording distance.
4. Audio-Technica AT897: Long AA-Battery Operation
The Audio-Technica AT897 is a 279 mm line-gradient XLR microphone that can operate from 11–52 volts of phantom power or one AA battery. Audio-Technica specifies up to 1,200 hours of typical operation from an alkaline battery.
Its frequency response is listed as 20 Hz to 20 kHz, with a switchable 80 Hz low-frequency roll-off. Maximum input level is specified as 129 dB SPL with phantom power and 115 dB SPL with battery power. This difference is worth noting if the microphone will be used near especially loud sources.
The AT897 weighs 145 grams and is longer than the MKE 600 and VP82. That length is manageable on a boom, but camera users should check framing with wide lenses and allow space for the shock mount and windshield.
Best suited to: extended field work, documentary recording and kits that need both phantom and replaceable-battery operation.
Consider before buying: manufacturer stock status and regional availability can vary. Confirm availability before building a system around this model.
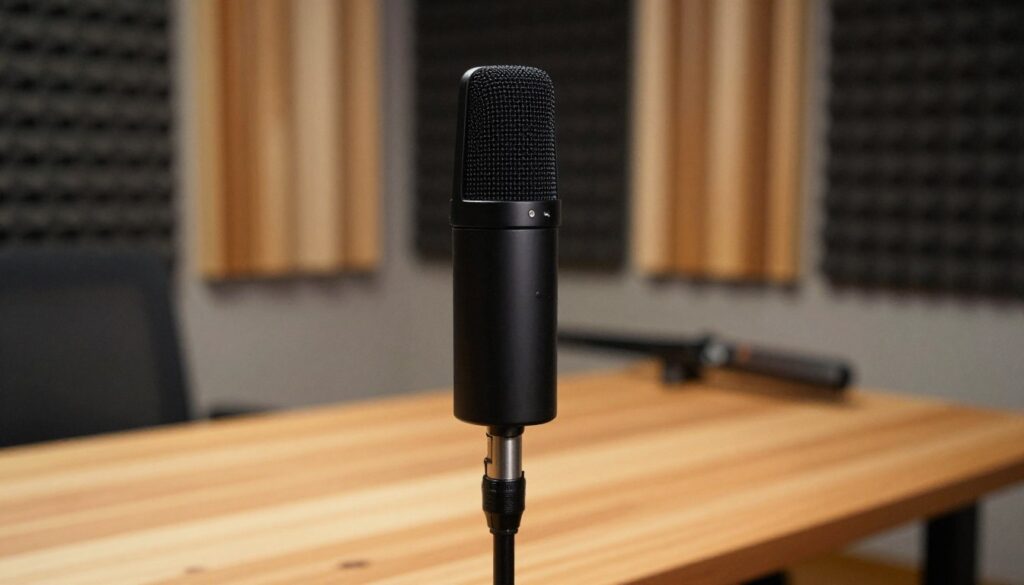
5. Shure VP82: A Lightweight, Phantom-Powered XLR Mic
The Shure VP82 is a short shotgun microphone intended for camera-mounted and near-field production applications. Its low weight is a clear practical advantage: Shure specifies 76 grams.
The VP82 has a supercardioid/lobar pattern, a 90 Hz to 20 kHz frequency response and 15 dB SPL-A typical self-noise. It accepts 11–52 volts of phantom power, with Shure stating that it performs best from a 48-volt supply.
Unlike the MKE 600, NTG4+ and AT897, the VP82 does not provide battery operation. It also lacks onboard filter and pad switches. Those functions must come from the recorder, mixer or post-production workflow.
Best suited to: compact XLR rigs, short booms and operators who already use a phantom-powered recorder or camera.
Consider before buying: a foam windscreen is included, but stronger outdoor wind normally requires more substantial protection. A suitable suspension is also important when the microphone is attached to a moving camera.
Which Model Fits Your Workflow?
Choose the MKE 600 for Flexible Power
The MKE 600 is the most adaptable option here when the microphone must alternate between phantom-powered equipment and battery-powered camera work. Its low-cut switch also provides straightforward rumble control.
Choose the NTG4+ for Onboard Controls
The NTG4+ makes sense when a rechargeable XLR microphone with a filter, pad and high-frequency boost fits the workflow. It offers more onboard adjustment than the other XLR choices in this list.
Choose the VideoMic Pro for a Small Camera Rig
The VideoMic Pro is the most direct choice for a compatible 3.5mm camera input. It avoids a separate XLR recorder, but the subject still needs to remain reasonably close to the camera for clear dialogue.
Choose the AT897 for Replaceable-Battery Endurance
The AT897 is useful when long AA-battery operation is more valuable than rechargeable convenience. It also retains phantom-power support for recorder-based work.
Choose the VP82 for Low Weight
The VP82 is attractive when a small, light XLR microphone is required and phantom power is already available. Its simpler design leaves filtering and level control to the recording device.
How to Get Better Sound Without Spending More
Move the Microphone Closer
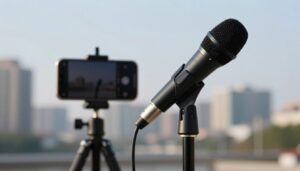
Distance is often the biggest difference between thin, noisy dialogue and a clear recording. Position the microphone just outside the frame and aim it toward the speaker’s upper chest or mouth area. Listen while adjusting the angle; the best position depends on the voice, room and background noise.
If dialogue is the priority, compare boom-pole and on-camera placement before spending more on the microphone itself.
Use the Correct Wind Protection
A foam cover can help with light air movement and plosives, but it is not enough for every outdoor situation. Furry windshields and full basket systems provide greater protection at the cost of added size and some high-frequency loss.
Match the protection to conditions rather than assuming the included foam is sufficient. This guide to foam, furry windshields and stronger wind protection explains the practical differences.
Use a Shock Mount
Camera mechanisms, footsteps, cable movement and boom handling can send low-frequency vibration into the microphone body. A correctly sized suspension reduces this mechanical noise. It does not remove sound traveling through the air, so it cannot replace careful placement or a quiet location.
Set Gain With Headroom
Watch the recorder’s meters while the speaker performs at the loudest expected level. Leave enough headroom for unexpected peaks and avoid relying on automatic gain control when it produces audible pumping or raises background noise during pauses.
If the microphone has an output boost, increase it only when the receiving input can accept the stronger signal. If it has a pad, use the pad when loud sources overload the microphone output or input stage.
Monitor During Recording
Headphones reveal clothing noise, hum, radio-frequency interference, cable faults, clipping and changes in microphone aim. Monitoring after the take is too late to correct the original performance.
Control the Room
Indoors, move away from bare walls and corners where possible. Curtains, rugs, upholstered furniture and sound blankets can reduce reflections, but avoid placing materials where they create a safety or fire hazard. If a shotgun remains colored in a small reflective room, a short hypercardioid microphone may be a better tool.
Final Recommendation
There is no credible way to promise that a budget microphone will automatically sound identical to a premium production model. The five microphones here are better understood as practical tools with different power, connection and mounting requirements.
For a flexible XLR kit, start with the Sennheiser MKE 600 or RØDE NTG4+. For direct camera recording, the RØDE VideoMic Pro is simpler. The Audio-Technica AT897 favors long replaceable-battery operation, while the Shure VP82 keeps a phantom-powered XLR setup light.
Whichever model you choose, reserve part of the budget for a compatible mount, cables, wind protection and monitoring headphones. Those supporting pieces—and the ability to place the microphone close to the subject—often have a larger practical effect than small differences between specification sheets.
FAQ
Can a budget shotgun microphone produce professional dialogue?
It can produce clean, usable dialogue when it is placed close to the speaker, aimed correctly and connected to a suitable recorder or camera. It will not automatically match every premium microphone, and no microphone can remove all room reflections or background noise.
Which microphone is the best overall choice?
The MKE 600 is a strong general-purpose option because it supports phantom and AA-battery power. The NTG4+ offers more onboard controls, while the VideoMic Pro is easier for a compact 3.5mm camera setup. The best choice depends on the rest of the recording system.
Do all XLR shotgun microphones need 48-volt phantom power?
No. The MKE 600, NTG4+ and AT897 have internal battery options. The VP82 requires phantom power and can operate from 11–52 volts, although Shure recommends 48 volts for its best specified performance.
Is an on-camera shotgun suitable for an interview?
It can work when the camera remains close to the speaker. For wider framing or noisy locations, moving a shotgun onto a boom or placing a lavalier on the subject usually provides a stronger voice-to-background balance.
Does a longer shotgun microphone have more range?
Not in the sense of acoustic magnification. Tube length influences directional behavior, but the microphone still captures both the subject and surrounding sound. Distance, aiming and room acoustics remain critical.
How important is self-noise?
Self-noise matters most with quiet sources, distant placement and quiet environments. For ordinary dialogue in a moderately noisy location, background sound and recorder noise may mask small differences in microphone self-noise.
Should a low-cut filter always be enabled outdoors?
No. Enable it when low-frequency wind, traffic, handling or building vibration is causing a problem. Listen for unwanted thinning of the voice, especially when using a relatively high cutoff frequency.
Can a low-cut filter replace a windshield?
No. A filter can reduce some low-frequency energy after wind has affected the capsule, but severe wind can cause distortion that filtering cannot repair. Physical wind protection is the first line of defense.
Why can a shotgun microphone sound strange indoors?
Reflections enter the interference tube from several angles and may be rejected unevenly across the frequency range. Moving closer, changing the angle, treating the room or switching to a short hypercardioid microphone can help.
What maintenance does a shotgun microphone need?
Keep it dry, protect it from impacts and store it in a clean case. Inspect cables, connectors, battery contacts, mounts and wind protection before important recordings. Remove disposable batteries before long-term storage to reduce the risk of leakage.
Sources and further reading

The FieldMic Pro Editorial Team creates practical, research-based guides about microphones, recording techniques, audio equipment, and sound troubleshooting. Our articles are reviewed using official documentation, technical references, and clearly identified sources.