A shotgun microphone does not automatically sound bad indoors. The trouble usually begins when it is too far from the speaker or aimed toward hard surfaces. The microphone then captures a strong mix of direct speech and delayed reflections, which can make dialogue sound hollow, harsh, or distant.
The interference tube that gives a shotgun mic its narrow pickup pattern can also respond unevenly to sound arriving from the sides. In a reflective room, those off-axis sounds arrive from many directions and at slightly different times. Good placement matters more than the word “directional” on the microphone’s specification sheet.
Key Takeaways
- Shotgun microphones reject some off-axis sound, but they do not remove room reverberation.
- Move the microphone closer before adding heavy processing or buying another mic.
- Avoid aiming the microphone toward a hard wall, ceiling, desk, or floor.
- Use headphones during calls to separate loudspeaker echo from acoustic room problems.
- A short shotgun or a supercardioid or hypercardioid microphone may be easier to use in a reflective room.
Why Shotgun Microphones Can Sound Unnatural Indoors
How the Interference Tube Works
A shotgun microphone uses a slotted interference tube in front of its capsule. Sound coming from directly ahead travels through the tube in a relatively consistent way. Sound arriving from the sides enters through different slots, travels along paths of different lengths, and is partly cancelled before reaching the capsule.
This rejection is frequency-dependent. A shotgun is therefore not an audio zoom lens, and it cannot make distant dialogue sound close. It mainly reduces some sound arriving from outside its forward pickup area. The source still needs to be close enough to dominate background noise and room reflections.
Longer interference tubes generally maintain useful directionality at lower frequencies, but they also become more sensitive to aiming. The guide to short and long shotgun microphones explains why a compact model is often more manageable in a small room.
Reflections Reach the Mic from Several Angles
In a bare room, speech reflects from the floor, ceiling, walls, windows, and furniture. Those reflections reach the microphone shortly after the direct voice. Combining direct and delayed sound can produce peaks and dips in the frequency response, often perceived as hollow, phasey, or colored audio.
Directional microphones still have side and rear sensitivity. Their rejection may also change with frequency. Understanding off-axis rejection helps explain why turning a microphone only a few degrees can change its indoor sound.
Echo and Reverb Are Different Problems
Room reverberation is the dense tail created by repeated reflections within a space. It makes speech sound washed out or distant.
Echo during a video call often occurs when sound from a loudspeaker enters a microphone and is sent back to another participant. Conferencing software may suppress it, but headphones are a more reliable way to keep playback out of the microphone.
Feedback is the ringing or howling loop that develops when amplified sound repeatedly returns to an open microphone. Moving the mic, lowering speaker volume, or using headphones can stop the loop.
Diagnose the Problem Before Replacing the Microphone
Make a short local recording before testing through a conferencing platform. If the local file sounds hollow, the likely causes are room acoustics, distance, aiming, or the recording chain. If the local file sounds clean but callers hear an echo, investigate speaker playback, monitoring, routing, and the platform’s audio settings.
- Listen for reverb: clap once and listen for a long, bright decay.
- Check distance: compare the normal position with the microphone placed much closer.
- Change the aim: avoid pointing the rear or sides toward nearby reflective surfaces.
- Test another input: swap the cable, recorder channel, interface input, or USB port where practical.
- Record without processing: temporarily disable noise reduction, gates, automatic gain, and aggressive equalization.
Fix the Sound with Better Placement
Place the microphone as close to the speaker as framing and plosive control allow. For video, that usually means booming it just above the frame and aiming toward the upper chest or mouth area. A boom normally provides cleaner dialogue than leaving the same microphone on the camera several feet away.
This is not simply because the microphone becomes “more directional.” Close placement increases the level of direct speech relative to reverberation and background noise. The practical differences are covered in boom pole versus on-camera mounting.
- Keep the subject on-axis and check the mic’s orientation markings.
- Avoid aiming through the voice toward tile, glass, a bare desk, or a low ceiling.
- Move the microphone away from nearby reflective surfaces when possible.
- Use a shock mount to prevent desk, stand, and boom vibration from entering the recording.
- Reposition noisy computers, fans, and air vents rather than relying entirely on noise reduction.
Reduce Reflections in the Recording Area
You do not need to cover the entire room. Start near the microphone and speaker, especially at the surfaces producing the strongest early reflections.
- Place a rug over a hard floor beneath the recording position.
- Use thick curtains over nearby windows or glass doors.
- Hang a dense blanket or proper broadband absorber on a bare wall outside the camera frame.
- Add soft furniture or filled shelving where it does not obstruct the microphone.
- Move away from corners, which can exaggerate low-frequency buildup.
Thin foam mainly affects higher frequencies. Effective broadband treatment must be thick enough to absorb more of the voice range. Improvised blankets can still help with bright early reflections, but they will not soundproof the room or block traffic and construction noise.
Should You Use a Different Microphone Indoors?
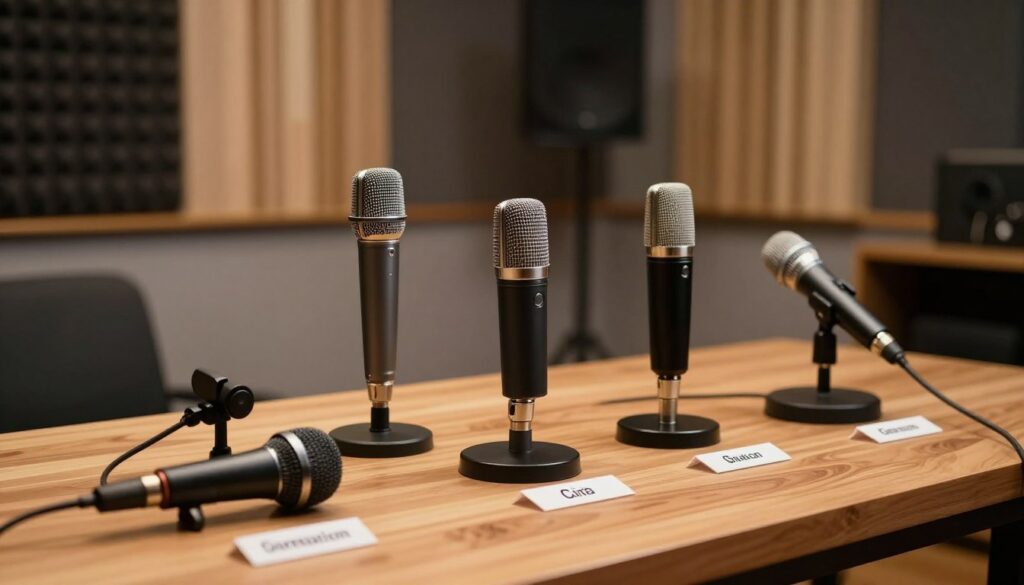
A short shotgun can work well indoors when it is close and carefully aimed. However, a supercardioid or hypercardioid microphone without a long interference tube may provide a more consistent off-axis response in a small, reflective space. It will not remove reverberation, but reflected sound may be less noticeably colored.
Examples of Indoor Alternatives
The Sennheiser MKH 50 is a supercardioid condenser designed for strong rejection of lateral sound and relatively consistent directionality across its frequency range. The AKG CK93 is a hypercardioid capsule with a specified consistent pattern and must be paired with the compatible SE300 B preamplifier module.
These are examples rather than universal recommendations. Compare pickup patterns, self-noise, power requirements, mounting needs, and off-axis response. Placement and room acoustics can matter more than moving to a more expensive microphone.
A lavalier can also keep the capsule close to the speaker when a boom is impractical. The comparison of a shotgun microphone and lavalier covers the trade-offs for interviews.
Check Gain, Power, and Monitoring
Set Gain for the Loudest Delivery
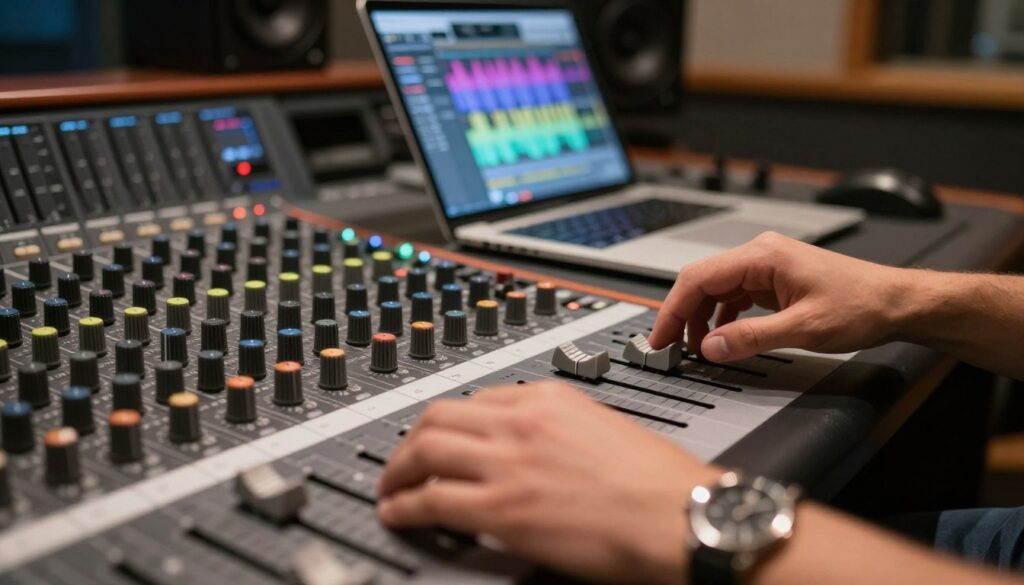
Ask the speaker to perform at the loudest level expected during the take. On a conventional digital camera or recorder, peaks around -12 to -6 dBFS are a useful starting range, leaving headroom for unexpected emphasis. Do not let the meter repeatedly reach 0 dBFS.
Gain that is too high causes clipping, while unnecessarily low gain can expose more preamp noise when the track is raised later. The guide to setting gain and preventing clipping provides a fuller setup procedure.
Confirm Power and Connections
Check whether the microphone requires 48-volt phantom power, plug-in power, an internal battery, or no power. Confirm that the recorder or interface provides the correct option before troubleshooting the room. Also inspect cables, adapters, pads, filters, and input type settings.
Use Headphones During Calls
Headphones prevent loudspeaker playback from returning to the microphone. If speakers must be used, lower their volume, increase their distance from the mic, and aim them away from its most sensitive areas. Disable software monitoring that sends the microphone back through the speakers.
Use Processing as a Final Step
A high-pass filter can reduce low-frequency rumble, handling noise, and some HVAC energy. Gentle equalization may soften a harsh reflection, while light compression can control level changes. None of these tools restores clarity that was lost because the microphone was several feet too far away.
Noise gates can also sound distracting in a reverberant room because the ambience changes each time the gate opens. Use moderate settings and listen to complete sentences rather than judging silence alone. For calls, test the platform’s echo cancellation and noise suppression, but avoid stacking several aggressive processing systems.
Conclusion
When a shotgun mic sounds bad indoors, start with acoustics and placement rather than assuming the microphone is defective. Move it closer, aim it away from hard surfaces, reduce early reflections, and verify gain and routing.
If the sound remains colored, compare a shorter shotgun with a supercardioid, hypercardioid, or lavalier microphone. The best choice is the one that can stay close to the speaker while producing predictable off-axis sound in the room you actually use.
FAQ
Why does my shotgun mic sound hollow indoors?
The microphone may be combining direct speech with delayed reflections from walls, floors, ceilings, or furniture. Frequency-dependent off-axis pickup can make that reflected sound noticeably colored.
Can a shotgun microphone remove room echo?
No. Directionality can reduce some off-axis sound, but it cannot separate reflected speech from direct speech after both reach the microphone. Closer placement and acoustic treatment are more effective.
Is a long shotgun always worse indoors?
No, but it can be harder to aim and may produce more obvious coloration when strong reflections enter off-axis. A shorter microphone is often easier to position in a compact room.
Where should I aim the microphone?
Position it above or below the frame and aim toward the mouth or upper chest. Avoid pointing through the speaker toward a hard floor, wall, window, or ceiling.
How far away is too far?
There is no universal cutoff because room size, noise, microphone design, and voice level all matter. If moving the microphone closer produces a clearer and less reverberant recording, the original position was too distant for that room.
Will a reflection filter solve the problem?
It may reduce some reflections near the microphone, but it cannot treat the entire room. Placement and absorption around the speaker and major reflection points are usually more important.
Do USB and XLR microphones capture room sound differently?
The connection type does not determine room pickup. Polar pattern, placement, capsule design, gain, and room acoustics matter more. XLR systems generally provide more component and placement options, while USB microphones simplify connection.
What should I check if the recording sounds thin or noisy?
Confirm the microphone is facing the correct direction, move it closer, inspect cables and adapters, verify the input and power settings, and make a clean test recording without software processing. Then adjust gain while watching for clipping.
Sources and further reading

The FieldMic Pro Editorial Team creates practical, research-based guides about microphones, recording techniques, audio equipment, and sound troubleshooting. Our articles are reviewed using official documentation, technical references, and clearly identified sources.