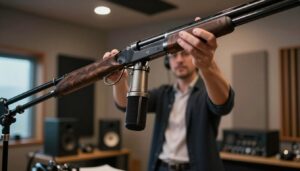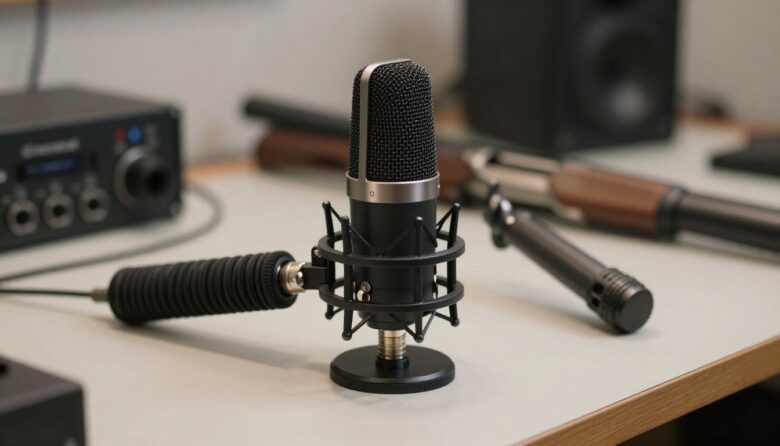
A shotgun microphone can capture clear dialogue and still produce distracting thumps, rumble, or cable noise if it is attached directly to a camera, stand, boom pole, or handgrip. A shock mount addresses that problem by suspending the microphone so less mechanical vibration reaches its body.
It will not correct poor placement, room reflections, wind noise, or careless boom movement. What it can do is reduce structure-borne noise before that noise reaches the recording.
Key Takeaways
- A shock mount isolates mechanical vibration: It helps reduce noise transmitted through cameras, stands, boom poles, grips, and cables.
- Compatibility matters: Check microphone diameter, length, weight, mounting thread, and the added weight of any windshield.
- Cable routing is part of the suspension: A tight or striking cable can bypass the mount and carry vibration directly to the microphone.
- Wind protection serves a different purpose: A shock mount reduces handling noise; a foam cover, furry cover, or basket reduces wind noise.
- No mount eliminates every impact: Careful handling and correct setup remain important.
Why a Shotgun Microphone Needs Mechanical Isolation
Handling noise does not have to travel through the air. Movement from a hand, camera body, tripod, stand, or boom pole can pass through solid parts of the recording rig and into the microphone. This is commonly called structure-borne noise.
Once it reaches the microphone, that movement may be recorded as low-frequency rumble, knocks, scraping, or short transients. Raising or lowering recorder gain does not prevent the vibration from entering the signal. Gain should still be set correctly, but it solves a different problem; see this guide to setting gain and preventing clipping with on-camera microphones.
A suspension mount creates a flexible connection between the microphone and the rigid support. Instead of holding the mic body in a hard clip, it allows controlled movement while absorbing part of the vibration. This is useful on a boom, where hand movements and cable motion can travel along the pole, and on a camera, where buttons, lens operation, straps, and body movement can affect the recording.
A shock mount is especially valuable when the microphone is positioned close to the subject. Moving the mic closer usually improves the balance between wanted speech and surrounding sound, but the mount must remain quiet while it is being positioned. The practical differences are covered in boom pole versus on-camera mounting.
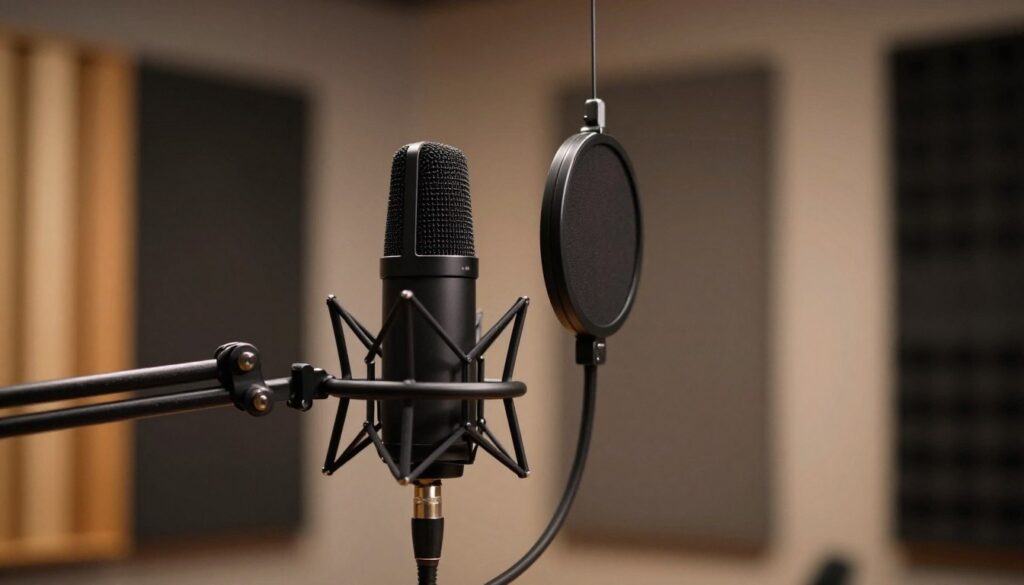
How a Shotgun Mic Shock Mount Is Built
Designs vary, but most suspension mounts contain several familiar parts.
Microphone Holder or Cradle
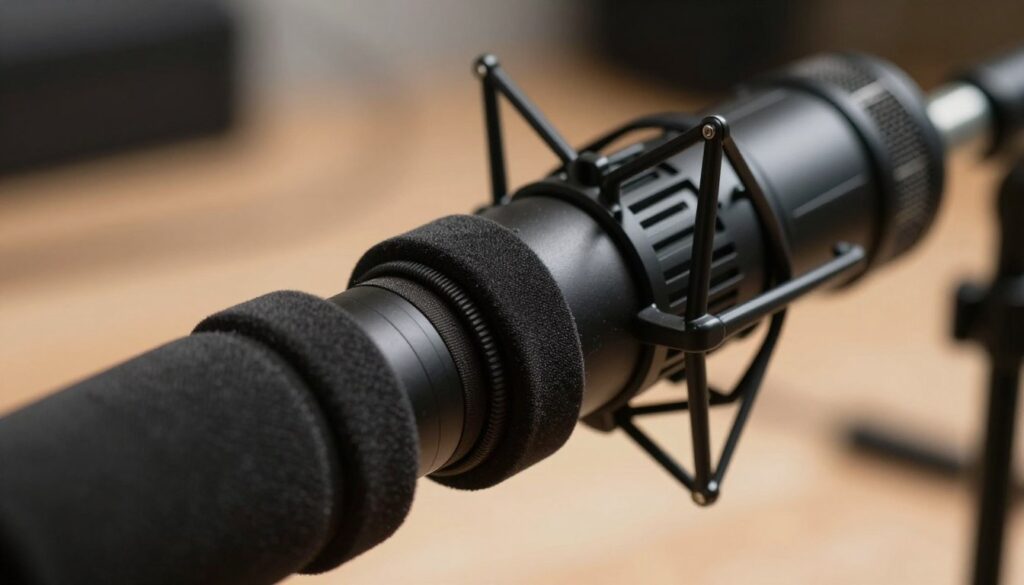
The holder secures the microphone at one or more points. It may use a clip, soft grip, adjustable clamp, or circular support. The holder must fit firmly enough to prevent slipping without crushing the microphone or covering interference-tube slots, switches, or connectors.
Do not assume that every shotgun microphone has the same diameter. Check the manufacturer’s dimensions and confirm where the microphone is intended to be supported.
Flexible Suspension
The suspension separates the holder from the rigid frame. Traditional mounts may use elastic bands or O-rings. Other systems use molded polymer supports, such as Rycote’s Lyre design.
The stiffness of the suspension should suit the microphone and its accessories. A suspension that is too soft for the load can sag, twist, or allow the microphone to hit the frame. One that is not designed for the payload may provide less useful isolation.
Frame, Pivot, and Mounting Thread
The frame connects the suspension to a boom pole, stand, camera shoe, or pistol grip. Many boom-oriented mounts use a 3/8-inch thread, while some include or accept a 5/8-inch adapter. Camera mounts may use a cold-shoe foot or a 1/4-inch adapter.
An adjustable pivot helps aim the microphone, but it should lock securely. A loose pivot can drift during a take or produce its own creaks and knocks.
Cable Management
Cable clips and strain relief are not minor conveniences. A cable that pulls against the microphone, taps the frame, or rubs against the boom can transmit noise around the suspension. Effective cable routing keeps the connector relaxed and prevents the cable from becoming a rigid bridge between the mic and the rest of the rig.
What to Check Before Buying
Compatibility should come before brand, appearance, or price. Review the complete recording configuration rather than the microphone alone.
- Microphone diameter: Confirm the body diameter at the intended mounting point. A specification for one section of the mic may not apply to the entire body.
- Length and balance: Long microphones and front-heavy setups need enough support to remain stable when the boom changes direction.
- Total weight: Include the connector, cable, foam cover, furry windshield, or other accessory that the suspension must carry.
- Windshield compatibility: A mount intended for a bare microphone and light foam may not support a heavier slip-on or basket system.
- Mounting connection: Verify the boom, stand, camera shoe, pistol grip, or adapter used by the rest of the rig.
- Cable clearance: Make sure the connector and cable can move without touching the frame or windshield.
- Replaceable parts: Check whether clips, adapters, elastic bands, or suspension pieces are available separately.
The windshield deserves particular attention because it can change both weight and balance. Rycote, for example, distinguishes between more compliant cradle suspensions and stiffer mounts intended to support front-heavy microphones fitted with slip-on wind protection.
Shock isolation and wind protection should be planned together, but they are not interchangeable. For help choosing an outdoor cover, compare deadcat and foam wind protection.
Choosing a Mount for Your Recording Setup
There is no universal “best” shock mount. The appropriate design depends on how the microphone will be used.
For Boom Pole Recording
Look for a lightweight mount with a secure pivot, suitable thread, effective cable management, and suspension matched to the complete payload. If a slip-on windshield makes the microphone front-heavy, choose a model designed to support that load.
One documented example is the Rycote InVision INV-7HG MkIII, which is intended for boom or stand use with microphones from 19 to 34 mm in diameter. Rycote describes it as suitable for front-heavy microphones and compatible slip-on windshields. Those dimensions should still be checked against the exact microphone and accessory combination.
For Compatible RØDE Microphones
The RØDE SM4-R is a boom-pole and stand suspension for compatible RØDE shotgun and small-diaphragm microphones. Its official specifications list 3/8-inch and 5/8-inch mounting support, dual Rycote Lyre suspensions, several microphone mounting positions, angle adjustment, and an integrated cable clip.
RØDE does not present the SM4-R as a universal mount for every microphone diameter. Check the current compatibility list rather than relying on a broad size assumption.
For On-Camera Recording
An on-camera mount should isolate the microphone while keeping it secure and out of the frame. Check cold-shoe fit, cable clearance, lens clearance, and whether the suspension can carry the chosen windshield.
Compact microphones sometimes include an internal or integrated suspension. That may be sufficient when it remains stable and does not bottom out, but an external mount can provide more flexibility for larger microphones and heavier wind protection.
For Handheld or Run-and-Gun Work
A pistol grip can provide a convenient handheld platform, provided the microphone is suspended rather than attached to a rigid clip. Some pistol-grip systems can also connect to a boom pole, reducing the number of adapters required.
Keep in mind that a pistol grip cannot compensate for abrupt wrist movement, cable pulling, or fingers striking the frame. It improves isolation; it does not make the rig immune to handling.
How to Set Up a Shock Mount Correctly
1. Confirm the Mounting Position
Place the microphone only where its manufacturer permits. Keep interference slots, switches, vents, and connectors unobstructed.
2. Balance the Microphone
Position the mic so its weight is reasonably centered over the suspension. Install the intended windshield before making the final adjustment because the added weight can shift the balance forward.
3. Secure the Microphone Without Forcing It
The holder should prevent slipping and rotation without placing excessive pressure on the body. If the mic is difficult to insert or remains loose, recheck the specified fit instead of improvising with thick tape or rigid packing.
4. Route the Cable With Controlled Slack
Leave enough slack near the connector for the microphone to move within the suspension. Secure the cable at the mount’s designated clip, then route it along or through the boom according to the pole design. The cable should not pull on the connector or strike the mount.
5. Tighten the Pivot and Adapter
Check the mounting thread, angle adjustment, and any adapter before raising the boom or moving the camera. Tighten them enough to prevent drift, but follow the manufacturer’s instructions rather than overtightening plastic parts.
6. Perform a Monitored Handling Check
Listen through headphones while gently moving the camera or boom through the motions expected during recording. Check for cable taps, creaks, contact with the frame, suspension bottoming, and changes caused by the windshield. Correct the physical source instead of assuming a low-cut filter will hide it.
Room reflections can also be mistaken for a microphone or mounting problem. If dialogue remains hollow or harsh after handling noise is controlled, review why shotgun microphones can sound bad indoors.
Maintenance and Pre-Recording Checks
Inspect the suspension before important recordings. Look for stretched elastic, cracked or deformed supports, loose adapters, damaged cable clips, and hardware that no longer locks securely.
Remove dust using the method recommended by the manufacturer, and avoid solvents or excessive heat unless the documentation specifically permits them. Replace worn suspension parts rather than trying to stiffen them with tape or improvised ties.
After transport, repeat the handling check. A mount can shift inside a bag, and a cable routed correctly during the previous session may now be pressing against the frame.
Final Thoughts
A shock mount is a practical part of a shotgun microphone rig because it reduces vibration before it becomes recorded noise. Choose it according to the microphone, mounting method, cable, and windshield—not the microphone name alone.
Correct balance, relaxed cable routing, careful handling, and regular inspection matter as much as the suspension material. When those parts work together, the microphone is less likely to capture the movements of the equipment supporting it.
FAQ
Will a shock mount completely eliminate handling noise?
No. It can reduce vibration transmitted through the rig, but strong impacts, rapid movement, cable strikes, and contact between the microphone and frame may still be audible.
Is a foam or furry windshield a substitute for a shock mount?
No. Windshields reduce air movement around the microphone. Shock mounts reduce mechanical vibration passing through the support. Outdoor recording often requires both.
How do I know whether a mount fits my microphone?
Check the microphone’s diameter at the mounting point, overall length, weight, balance, and the manufacturer’s compatibility information. Include the windshield and connector when evaluating the load.
Why can the cable still create noise when the microphone is suspended?
A tight cable can carry vibration directly to the connector, while a loose cable can strike the pole or frame. Leave controlled slack near the mic and use the mount’s cable-management system.
Are molded Lyre suspensions always better than elastic bands?
Both designs can work when correctly matched to the microphone. Molded suspensions avoid rethreading elastic and are designed to resist sag, while elastic systems may be inexpensive and replaceable. Condition and payload matching matter more than the name of the design.
Can a low-cut filter remove handling noise?
It may reduce some low-frequency rumble, but it cannot repair every knock or overloaded transient. Preventing vibration at the mount is preferable to relying on filtering afterward.
Do I need a shock mount when the microphone is on a tripod?
It can still be useful. Floor movement, desk contact, cable motion, and adjustments to the tripod or head can travel through a rigid microphone clip.
Can the same mount be used on a camera and boom pole?
Sometimes, if the mount has the necessary adapters and can support the complete payload in both positions. Verify the thread, camera-shoe connection, clearance, and manufacturer guidance before using it in a different configuration.
Sources and further reading

The FieldMic Pro Editorial Team creates practical, research-based guides about microphones, recording techniques, audio equipment, and sound troubleshooting. Our articles are reviewed using official documentation, technical references, and clearly identified sources.