Clear dialogue usually depends more on microphone placement than on buying the most expensive model. A well-positioned creator microphone can produce more usable speech than a premium shotgun mounted too far from the person speaking.
This guide compares professional XLR shotguns, flexible battery-powered models, and compact on-camera options for YouTube videos, interviews, documentaries, and run-and-gun production. The recommendations are based on published features and specifications rather than claimed hands-on testing.
Key takeaways
- A shotgun microphone rejects some off-axis sound, but it does not magnify distant voices.
- Getting the microphone closer usually improves dialogue more than changing models.
- Longer interference tubes provide narrower high-frequency directionality, but they are harder to keep out of frame and may be less forgiving in reflective rooms.
- Professional XLR microphones may require phantom power, while creator-oriented models may use batteries, plug-in power, or USB.
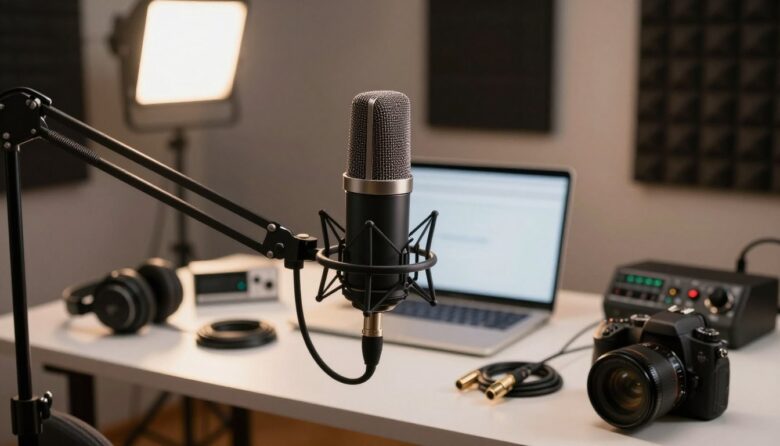
- A shock mount, suitable windshield, headphones, and careful gain settings are essential parts of the recording system.
What a shotgun microphone does
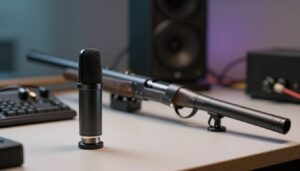
A shotgun microphone combines a directional capsule with an interference tube. Sound arriving from the front travels through the tube in a relatively consistent way. Sound arriving from the sides enters through different openings and follows different paths, reducing parts of the off-axis signal through phase interference.
This design can make dialogue clearer when traffic, crew movement, or other unwanted sounds are positioned away from the microphone’s main axis. It does not eliminate every background sound, and most shotgun patterns retain some sensitivity behind the microphone.
Distance remains critical. If the microphone is several feet from the speaker, it still records a quieter direct voice along with room reverberation and environmental noise. For seated interviews or scripted work, a boom often lets you place the mic just outside the frame. See boom pole versus on-camera mounting for a closer look at that trade-off.
How to choose a shotgun microphone
Start with the way you shoot
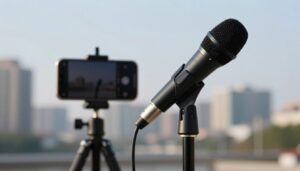
An on-camera microphone is convenient for solo production, travel videos, and unpredictable scenes. It follows the camera automatically and keeps the rig manageable. Its main limitation is distance: a wide shot also places the microphone farther from the speaker.
A boom-mounted shotgun takes more setup and may require an operator, stand, or careful framing. In return, it can be positioned much closer to the voice. This is usually the more effective arrangement for interviews, narrative scenes, and controlled talking-head videos.
Tube length also affects handling and directionality. A compact model is easier to mount on a small camera and is often more manageable indoors. A longer tube can provide narrower directionality at higher frequencies but requires more accurate aiming. The guide to short versus long shotgun microphones explains these differences in more detail.
Consider the recording environment
Shotgun microphones are strongly associated with outdoor production, but they can also work indoors when they are placed close and aimed carefully. Problems arise in rooms with hard floors, bare walls, low ceilings, or large windows. Reflections can enter the interference tube from several angles and make off-axis sound less natural.
In a reflective room, move the microphone closer, avoid aiming it directly at a hard surface, and add absorption where practical. A short shotgun, hypercardioid microphone, or lavalier may be easier to manage than a long shotgun in a small untreated space.
Match the connection to your equipment
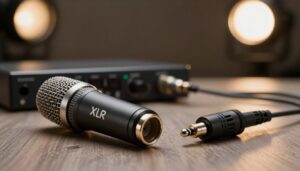
Balanced XLR microphones are suited to boom poles, field recorders, mixers, audio interfaces, and cameras with professional audio inputs. The balanced connection helps resist electrical interference over longer cable runs, but the microphone may need phantom power.
Camera-oriented models commonly use a 3.5 mm output and may include an internal battery, automatic power switching, gain controls, or a safety channel. Some newer models also work as USB microphones. Before buying, check the input on your camera, phone, recorder, or computer and identify any required adapter. Our XLR versus 3.5 mm comparison covers the practical differences.
Read specifications in context
- Polar pattern: Look at the complete polar diagrams rather than relying only on terms such as supercardioid or lobar. Directionality changes with frequency.
- Frequency response: A range such as 20 Hz to 20 kHz does not guarantee natural dialogue. The response curve shows boosts, roll-offs, and other tonal changes more clearly.
- Self-noise: Lower self-noise can matter for quiet speech, Foley, nature recording, and low-level ambience.
- Sensitivity: A more sensitive microphone sends a stronger signal to the preamp, although placement and recorder noise still affect the result.
- Maximum SPL: This becomes important around loud sound effects, vehicles, amplified performances, or machinery.
- Power: Confirm whether the microphone needs 48 V phantom power, accepts a wider phantom-power range, uses an internal battery, or depends on plug-in power.
- Dimensions and weight: A few centimeters or grams can make a noticeable difference on a compact camera or during a long boom session.
Professional XLR shotgun microphones
Sennheiser MKH 416: a longstanding location-dialog choice
The Sennheiser MKH 416 is a compact professional shotgun designed for film, television, radio, and outdoor production. It uses an RF condenser design that Sennheiser describes as comparatively resistant to humidity. Its pattern is supercardioid at low and middle frequencies, becoming lobar at higher frequencies.
The microphone has a published 40 Hz to 20 kHz response, measures 250 mm long, weighs 175 g, and requires 48 V phantom power. It is a logical candidate for professional boom work when the recorder or camera supplies P48 and the production needs a durable, highly directional microphone.
Its reputation should not be treated as proof that it suits every voice or room. The MKH 416 remains dependent on accurate placement, appropriate wind protection, and a reasonably controlled acoustic environment.
Neumann KMR 81 i: compact dimensions for a professional boom
The Neumann KMR 81 i is another professional supercardioid/lobar shotgun. At 213 mm long and 145 g, it is shorter and lighter than the MKH 416. Neumann specifies a 20 Hz to 20 kHz frequency range, 12 dB-A equivalent noise, and P48 phantom power.
Its relatively compact body can be useful when a boom must stay clear of lights, ceilings, or the edge of a tight frame. It is intended for professional recording systems rather than direct connection to a typical consumer camera’s 3.5 mm input.
RØDE NTG5: a lightweight professional location kit
The RØDE NTG5 is particularly notable for its 76 g body. That low weight can reduce the load at the end of a boom pole, especially when the microphone is combined with a suspension, windshield, cable, and transmitter.
It is an RF-bias condenser with a supercardioid shotgun pattern, published 10 dB-A self-noise, and 48 V phantom-power operation. The NTG5 is better matched to a recorder, mixer, interface, or professional camera than to a basic unpowered camera input.
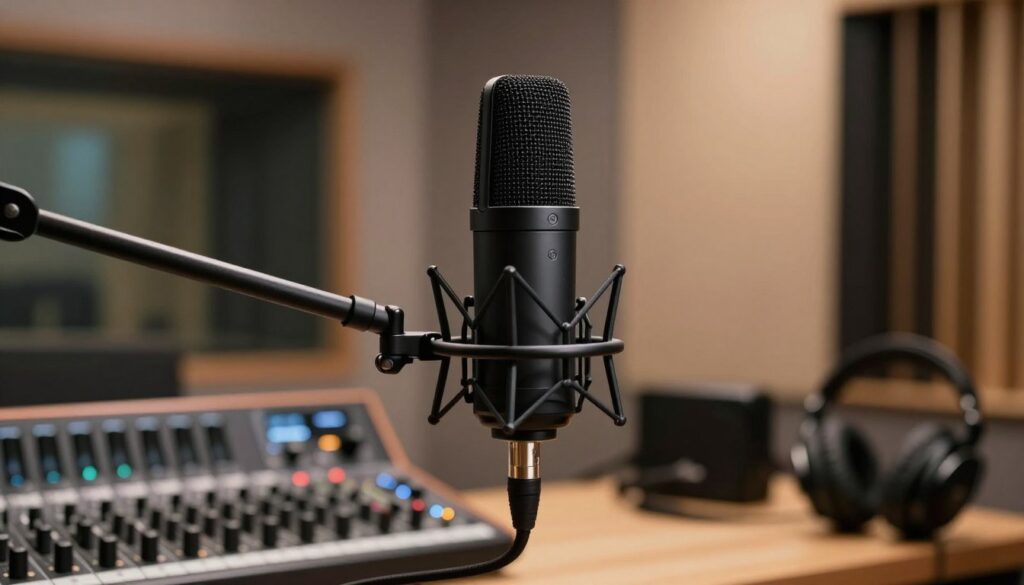
Creator-friendly and power-flexible alternatives
Sennheiser MKE 600: flexible power for camera and boom work
The Sennheiser MKE 600 is a useful bridge between professional XLR production and smaller creator setups. It can operate from P48 phantom power or a single AA battery, so it can be paired with a field recorder or used when the connected camera does not provide phantom power.
It has a supercardioid/lobar pattern, a switchable low-cut filter, a 256 mm body, and a weight of 128 g without the battery. The included XLR-to-3.5 mm cable makes connection to compatible camera inputs more straightforward, although the camera’s preamp quality and gain controls still influence the recording.
Audio-Technica AT897: XLR operation with phantom or AA power
The correct model name is Audio-Technica AT897, not AT987. It is a 279 mm line-and-gradient condenser designed for video and broadcast recording. It can run from 11–52 V phantom power or one AA battery and includes a switchable 80 Hz low-frequency roll-off.
At 145 g, it remains manageable on a boom, although its length makes it less convenient on very small mirrorless or smartphone rigs. Battery operation can be valuable when using a camera or portable setup without phantom power.
RØDE VideoMic NTG: direct camera, mobile, and USB connectivity
The RØDE VideoMic NTG is designed around creator workflows rather than a traditional XLR sound kit. It has an auto-sensing 3.5 mm output for compatible camera and mobile connections, plus USB-C for recording to supported computers and mobile devices.
Its controls include variable output gain, selectable high-pass filters, a pad, and a safety-channel mode. The internal rechargeable battery is specified for more than 30 hours of operation. This combination is convenient for solo creators who need one microphone to move between a camera, phone, and computer.
The trade-off is that the VideoMic NTG does not provide the balanced XLR connection expected in many professional boom and field-recorder systems. Choose it for connectivity and compact operation rather than as a direct substitute for every professional shotgun.
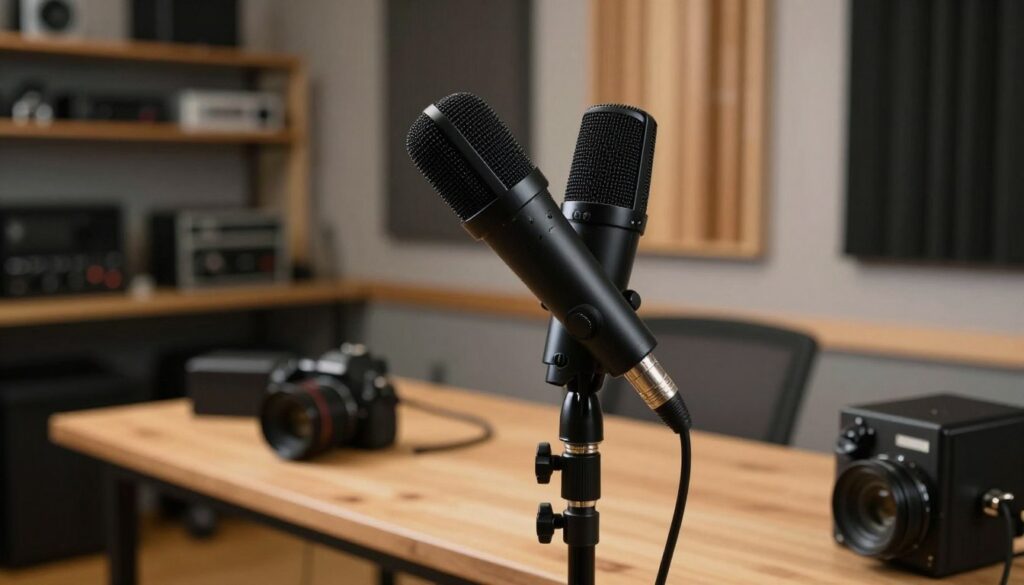
Which model fits your production?
- Professional outdoor dialogue: Consider the Sennheiser MKH 416, Neumann KMR 81 i, or RØDE NTG5 with a recorder, boom, suspension, and full windshield.
- Long boom sessions: The 76 g NTG5 minimizes microphone weight at the end of the pole.
- Phantom or battery-powered XLR use: The Sennheiser MKE 600 and Audio-Technica AT897 can keep working when P48 is unavailable.
- Direct camera and computer use: The RØDE VideoMic NTG offers 3.5 mm and USB-C connectivity without a separate XLR interface.
- Small reflective room: Prioritize close placement and consider whether a shorter shotgun, hypercardioid mic, or lavalier would be easier to control.
- Wide camera framing: Use a boom or lavalier instead of expecting a camera-mounted shotgun to capture intimate dialogue from across the room.
Accessories that make a practical difference
Shock mount
A shotgun mounted directly to a camera, stand, or boom can pick up vibration from footsteps, grip changes, autofocus motors, and cable movement. A compatible suspension or shock mount reduces the mechanical energy reaching the microphone body.
Check the microphone’s diameter, length, weight, and center of gravity before selecting a mount. A suspension designed for a small camera microphone may not safely support a long XLR shotgun inside a windshield.
Wind protection
A foam windscreen is primarily suited to light air movement and plosive control. A furry slip-on windshield provides more protection for outdoor recording, while a suspended basket or blimp with a fur cover is the safer choice for stronger or less predictable wind.
No windshield makes a microphone immune to gusts. Keep the microphone out of direct airflow where possible, secure loose cables, and monitor for low-frequency rumble. See deadcat versus foam wind protection for help choosing the appropriate level.
Boom pole, cables, and monitoring
- Use a boom long enough to position the mic close without forcing the operator into an unstable posture.
- Choose flexible, properly wired cables and secure them so they cannot strike the pole or pull on the connector.
- Monitor through closed-back headphones whenever the camera or recorder provides a headphone output.
- Carry spare batteries or a tested power bank for equipment that depends on internal power.
- Store the microphone and windshield dry in protective cases rather than sealing damp equipment in a bag.
How to get cleaner dialogue
Place the microphone before adjusting processing
Position the mic as close as framing allows, normally above or below the speaker and aimed toward the upper chest or mouth area. Placement above the frame is common because it can sound natural and keeps the microphone away from floor reflections, but the best position depends on the set.
Do not aim the rear of a supercardioid or lobar microphone toward a loud unwanted source without checking its polar pattern. These microphones can have a rear pickup lobe, so rotating the mic may move the noise into a more sensitive area.
Maintain a consistent angle and distance
Changes in boom height and aim can alter both level and tone. During an interview, follow the active speaker smoothly instead of swinging the microphone after the next person has already started talking. For a solo presentation, mark the performer’s position and discourage large movements away from the pickup area.
Set gain conservatively
Record a realistic rehearsal rather than asking for an unusually quiet level check. Set enough gain for a healthy signal while leaving headroom for laughter, emphasis, or sudden volume changes. If the microphone or recorder offers a safety channel, it can provide a lower-level backup, but it does not replace sensible gain staging.
A low-cut filter can reduce handling noise, traffic rumble, and some HVAC energy. It cannot repair clipping or remove every unwanted sound. The guide to setting gain and preventing clipping provides a step-by-step setup.
Record a short test in every location
Listen for reverberation, electrical noise, wind, clothing rustle, autofocus motors, and intermittent equipment such as refrigerators or air conditioners. A 20-second test can reveal problems that are difficult or impossible to repair after the shoot.
Common shotgun microphone mistakes
- Mounting the mic too far away: Directionality cannot compensate fully for excessive distance.
- Choosing by frequency range alone: Two microphones with the same published range may have different response curves, directionality, sensitivity, and noise performance.
- Assuming longer is always better: A longer interference tube can be harder to aim and may be awkward in small rooms or tight frames.
- Using foam in strong wind: Foam offers limited protection compared with a furry windshield or full basket system.
- Ignoring the camera preamp: A good microphone can still sound noisy when connected to a poor input with unsuitable gain settings.
- Applying low-cut filters automatically: Filtering can help with rumble, but an unnecessarily high cutoff may make a voice sound thin.
- Skipping headphones: Meters do not reveal cable noise, radio interference, wind distortion, or changes in room tone.
Conclusion
There is no single shotgun microphone that is best for every YouTube channel or production. The Sennheiser MKH 416, Neumann KMR 81 i, and RØDE NTG5 suit professional XLR workflows. The Sennheiser MKE 600 and Audio-Technica AT897 add battery-power flexibility, while the RØDE VideoMic NTG offers convenient camera, mobile, and USB connections.
Choose according to the input you already own, the way the microphone will be mounted, and the environments in which you record. Then reserve part of the budget for a suitable shock mount, wind protection, cables, and monitoring. Most importantly, place the microphone close enough to capture a strong direct voice before trying to solve problems with filters or editing.
FAQ
What microphone type is best for YouTube videos?
For solo vlogging, a compact on-camera directional microphone is often the simplest option. A boom-mounted shotgun generally provides better placement for interviews, talking-head videos, and narrative scenes. Lavalier microphones are useful when the subject moves or when a boom cannot stay close.
Does a shotgun microphone remove background noise?
No. It reduces sound arriving from some off-axis directions, but it still captures noise that reaches its sensitive areas. It also records reflections and ambience at the microphone’s location. Moving the mic closer to the voice and controlling the noise source are usually more effective than relying on directionality alone.
Is the Sennheiser MKH 416 the best choice for every creator?
No. It is a professional P48-powered XLR microphone intended for film, television, radio, and location recording. It may be more equipment than a solo creator needs, and it still requires skilled placement, a suitable recorder or camera input, suspension, and wind protection.
Do all XLR shotgun microphones need 48 V phantom power?
No. The MKH 416, KMR 81 i, and NTG5 use P48, but models such as the MKE 600 and AT897 can also operate from an internal AA battery. Always check the manual because accepted phantom voltage and battery behavior vary by model.
Can an XLR shotgun plug directly into a camera?
It can connect directly when the camera has a compatible XLR input and supplies the power required by the microphone. A camera with only a 3.5 mm input may need an adapter, preamp, recorder, or interface. An adapter changes the connection but does not automatically provide phantom power.
Are shotgun microphones suitable indoors?
They can be, especially when positioned close in a reasonably controlled room. In small reflective spaces, off-axis reflections may sound hollow or colored. Try a shorter shotgun, hypercardioid microphone, or lavalier if the room remains problematic.
How close should a shotgun microphone be to the speaker?
As close as the framing and performance allow without entering the shot or distracting the subject. For many seated interviews, placing the mic roughly one to two feet from the speaker is a practical starting point, but room acoustics, voice level, lens choice, and microphone pattern can require a different distance.
Do I need a deadcat outdoors?
Use wind protection appropriate to the conditions. Foam may be enough in still air or a very light breeze. A furry windshield is more suitable for ordinary outdoor work, while strong or gusty wind generally calls for a full basket or blimp system with suspension.
Is an on-camera shotgun better than a built-in camera microphone?
It often provides better directionality, isolation from camera vibration, and wind-protection options. However, it cannot overcome poor placement. If both microphones are several feet from the speaker, a boom-mounted mic or lavalier placed closer may produce a much larger improvement.
How should a shotgun microphone be maintained?
Keep the microphone dry, clean its exterior with the method specified by the manufacturer, and inspect connectors and cables regularly. Allow damp wind protection to dry before storage. Do not insert tools or cleaning materials into the interference-tube openings, and use a protective case during transport.
Sources and further reading

The FieldMic Pro Editorial Team creates practical, research-based guides about microphones, recording techniques, audio equipment, and sound troubleshooting. Our articles are reviewed using official documentation, technical references, and clearly identified sources.