A natural-sounding voice depends on more than whether a shotgun microphone claims to cover the full audible spectrum. The shape of its frequency-response curve, its off-axis behavior, the room, and the distance from the speaker all influence the result.
The most useful specification is rarely a simple range such as 20 Hz–20 kHz. A microphone with a narrower published range can still reproduce dialogue convincingly, while one with broader coverage may sound bright, thin, or colored if its response is uneven or the microphone is poorly placed.
Key Takeaways
- Read the frequency-response curve, not just the two range numbers.
- A smooth, gently shaped response can suit speech better than a strictly flat response.
- Shotgun directionality changes with frequency, so off-axis sound may have a different tone from on-axis dialogue.
- Close, accurate placement usually improves clarity more than additional gain or a longer microphone.
- Self-noise, power requirements, mounting, wind protection, and room reflections also affect the usable recording.
What Frequency Response Actually Describes
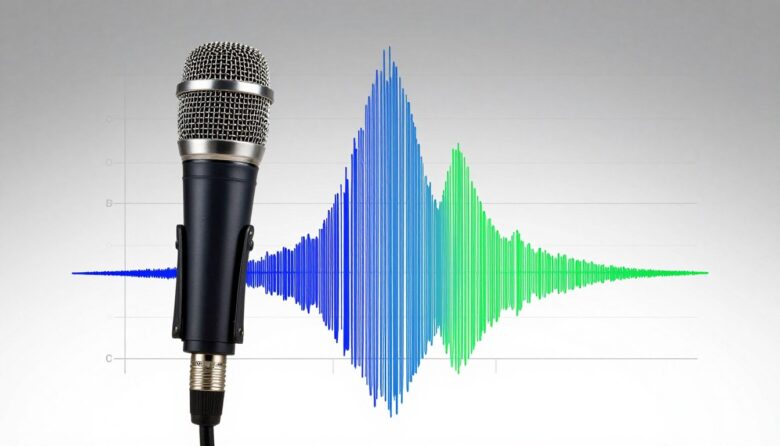
Frequency response describes how a microphone’s output changes across its usable frequency range. Manufacturers normally show this with a graph: frequency runs along the horizontal axis, while changes in sensitivity are shown vertically in decibels.
The printed range only identifies the approximate endpoints. It does not tell you how evenly the microphone responds between them. Two models can both list 20 Hz–20 kHz and still sound noticeably different because one emphasizes the upper midrange, rolls off the bass, or contains sharper peaks and dips.
A microphone also does not need to reach 20 Hz to capture natural dialogue. The lowest frequencies may contain useful body, but they can also contain handling vibration, traffic, HVAC noise, and wind rumble. What matters is whether the response preserves the useful tone of the speaker without adding distracting coloration.
Flat and Shaped Responses
A flat response means that the microphone has roughly similar sensitivity across a broad frequency range. This can be useful when accurate reproduction is the main goal, but it is not automatically the best response for every voice.
Many speech-oriented microphones use a shaped response. A gentle upper-midrange rise can improve articulation, while a controlled low-frequency roll-off can reduce rumble and handling noise. Either approach can sound natural when the curve is smooth and appropriate for the speaker, distance, and recording environment.
Be cautious of abrupt peaks. A strong high-frequency emphasis may exaggerate sibilance, clothing noise, or room reflections. A large dip can make consonants less distinct, while excessive low-frequency attenuation can leave a voice sounding thin.
How an Interference Tube Creates Directionality
A shotgun microphone combines a directional capsule with an interference tube in front of it. Sound arriving from the front travels toward the capsule along a relatively direct path. Sound arriving from the sides enters through slots or other openings at different points along the tube.
Those different path lengths create timing and phase differences. Some of the off-axis sound components partially cancel before they reach the capsule, reducing sensitivity to sound arriving from certain angles.
This process does not create a perfect beam, and it does not make the microphone behave like an audio zoom lens. Background sound arriving from the front can still be recorded clearly, and distant dialogue still becomes quieter relative to room sound as the microphone moves farther away.
Directionality Changes with Frequency
The interference effect generally becomes more pronounced at higher frequencies. A shotgun microphone may therefore behave more like a supercardioid or hypercardioid microphone at lower and middle frequencies while developing a more lobar pattern at higher frequencies.
This is why one polar-pattern label cannot describe everything the microphone will do. Inspect polar plots at several frequencies when they are available. A single diagram measured at one frequency may hide rear lobes, side lobes, or changes in the acceptance angle.
Tube length also affects performance. A longer active interference tube can extend the interference effect toward lower frequencies, but it adds size and can make accurate booming more difficult. The practical trade-offs are covered in more detail in Short vs. Long Shotgun Microphones.
How to Read a Shotgun Mic Frequency-Response Chart
Start with the Shape, Not the Endpoints
Look for broad trends rather than treating the listed range as a quality score. A gradual bass roll-off, smooth midrange, and modest presence rise are easier to interpret than a curve with many narrow peaks and dips.
Check Which Filter Setting Is Shown
Some microphones have switchable low-cut filters or other response controls. Confirm whether the graph represents the flat setting, a filtered setting, or several settings. A low-cut filter can help with wind, traffic, HVAC, and handling rumble, but it can also remove useful warmth if set too aggressively.
Look for Frequency-Specific Polar Plots
The on-axis frequency graph explains only what happens directly in front of the microphone. Polar plots show how sensitivity changes around it. Charts at multiple frequencies are especially useful because they reveal whether rejection remains consistent or becomes irregular through the upper midrange and treble.
Remember That Charts Cannot Describe the Room
A response curve is normally produced under controlled measurement conditions. It cannot predict how nearby walls, ceilings, floors, or windows will redirect sound into the microphone. Use the chart to narrow the choices, then evaluate the microphone in a space similar to the one where it will be used.
Off-Axis Coloration and Natural Dialogue
Rejection level is only one part of directional performance. The tone of the rejected sound also matters.
A microphone may reduce off-axis sound strongly while changing its frequency balance. If room reflections reach the interference tube from several angles, the recording can acquire a hollow, phasey, or uneven quality even when the direct voice remains on-axis.
For dialogue, smooth off-axis behavior is often more useful than the narrowest possible pickup angle. It helps room ambience remain less distracting and makes small aiming errors less obvious. See What Is Off-Axis Rejection? for a closer explanation of rejection patterns and microphone aiming.
Why Indoor Rooms Can Be Difficult
Outdoors, there may be fewer nearby surfaces returning delayed sound toward the microphone. Indoors, walls, floors, ceilings, and furniture create reflections that can enter the interference tube from several directions.
A short shotgun can still work well in a treated or relatively dry room, especially when positioned close to the speaker. In a small reflective space, however, a compact hypercardioid or supercardioid microphone without a long interference tube may produce more consistent off-axis tone.
Microphone choice should follow the room rather than a blanket rule. If dialogue sounds hollow, first try moving closer, changing the angle, or reducing reflections. More troubleshooting steps are available in Why Your Shotgun Mic Sounds Bad Indoors.
Placement Matters More Than the Published Range
A shotgun microphone works best when it is close enough to capture a strong direct signal and aimed accurately at the speaker. Increasing distance lowers the direct voice level and allows more ambience to enter the recording. Raising recorder gain afterward amplifies both the wanted signal and the noise already present.
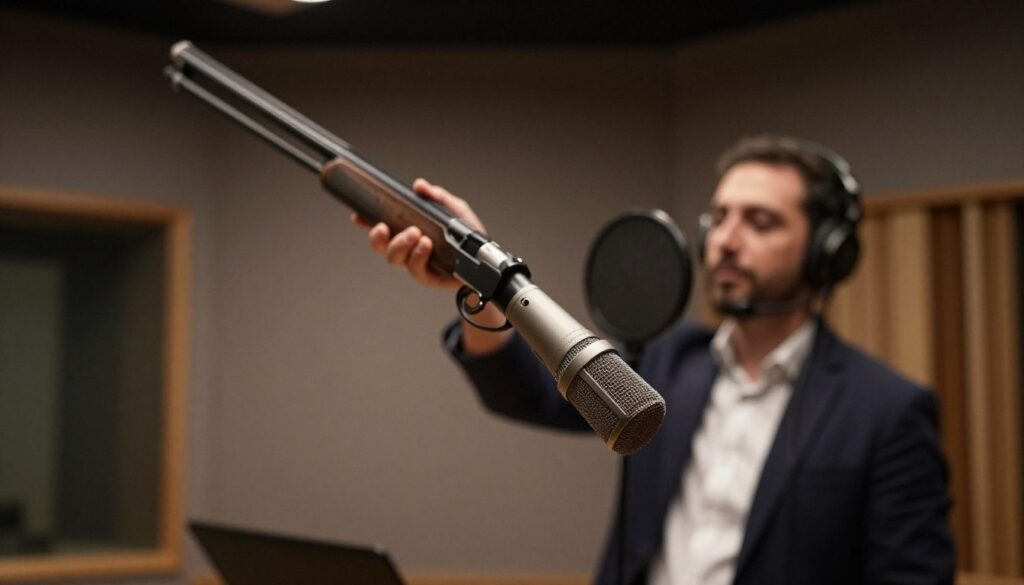
For filmed dialogue, a boom pole can place the microphone above or below the frame while keeping it substantially closer than a camera-mounted microphone. Aim the microphone toward the mouth or upper chest area, monitor through headphones, and adjust the angle for the most balanced tone.
Keep the distance and angle consistent as the speaker moves. If the voice drifts outside the main pickup area, the level may fall and the high-frequency balance may change. A wider or smoother microphone can be preferable when the operator cannot follow movement accurately.
The practical differences between these positions are explained in Boom Pole vs. On-Camera Mounting.
Self-Noise and Quiet Voice Recording
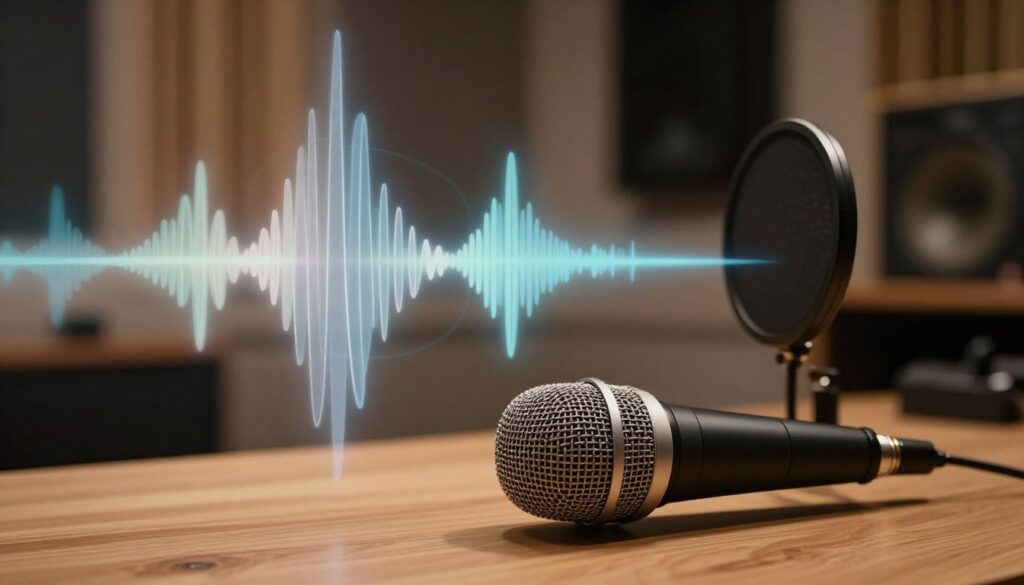
Self-noise is the microphone’s own equivalent noise level, produced by its capsule and active electronics. It is commonly reported as an A-weighted sound-pressure level. Lower figures can be useful for whispering, quiet narration, Foley, and recordings made in acoustically quiet rooms.
There is no universal self-noise cutoff that makes a microphone suitable or unsuitable for voice. The importance of the specification depends on the speaker’s level, microphone sensitivity, distance, recorder noise, and environmental ambience. A modest difference between two microphones may be irrelevant on a street and noticeable in a quiet booth.
Compare measurements that use the same weighting and test conditions. Also distinguish microphone self-noise from recorder or camera preamp noise. A quiet microphone connected to a noisy input can still produce audible hiss.
Moving the microphone closer usually provides a stronger signal before the preamp, allowing less gain to be used. Gain itself should not alter a microphone’s frequency response under normal operation, although excessive levels can cause clipping and distortion.
- Use close placement before relying on extreme preamp gain.
- Compare self-noise figures only when the measurement methods match.
- Listen for both steady microphone hiss and noise introduced by the recorder.
- Leave enough headroom to prevent sudden words or movements from clipping.
Power Requirements and Compatibility
Many professional XLR shotgun microphones use 48-volt phantom power, but this is not universal. Some models accept a range of phantom voltages, some can run from an internal battery, and compact camera or smartphone microphones may use plug-in power or power supplied through USB.
Check the microphone manual and the input specifications of the camera, recorder, interface, or mixer. Connector shape alone does not confirm that the required power is available. An XLR input may lack phantom power, while a 3.5 mm input may provide a different low-voltage supply intended for compact electret microphones.
Phantom power travels through a balanced microphone cable and powers the active electronics of compatible microphones. It does not improve the frequency response of a microphone beyond its designed performance. For a fuller compatibility guide, see What Is Phantom Power and Does Your Shotgun Mic Need It?.
Mounting and Handling Noise
Low-frequency handling vibration can mask the body of a voice and consume recording headroom. A suitable shock mount helps isolate the microphone from footsteps, boom movement, camera controls, desk impacts, and cable vibration.
The mount must fit the microphone’s diameter and weight. A suspension that is too stiff may transmit vibration, while one that is too soft can allow the microphone to strike the frame. Secure the cable with enough slack for isolation, but do not leave a loose section that can tap the pole or microphone body.
Boom and Studio Positioning
On a boom, use controlled movements and avoid gripping or rubbing the cable. In a studio, a suspended arm can provide repeatable placement, but the microphone should still be isolated from desk vibration. A small desktop stand is workable when space is limited, provided it is not placed directly beside keyboards, control surfaces, or other sources of impact noise.
Wind, Drafts, and Low-Frequency Rumble
Wind moving across a microphone creates strong low-frequency pressure changes that can overload the capsule or recorder input. A low-cut filter may reduce mild residual rumble, but it cannot fully repair severe wind distortion after recording.
A foam windshield is useful for breath noise, indoor drafts, and relatively light air movement. Stronger outdoor wind generally calls for a furry windshield or a full basket-style windshield with an additional fur cover. Choose protection designed for the microphone and make sure it covers the interference slots without pressing against them.
Indoor air movement also matters. Fans, open windows, heating vents, and air-conditioning outlets can create the same type of rumble on a smaller scale. Repositioning the microphone out of the airflow is preferable to relying entirely on filtering.
Choosing a Shotgun Mic for Natural Voice
A useful comparison should consider the complete recording setup rather than ranking microphones by frequency range alone.
- Frequency-response shape: Look for a smooth curve with a tonal balance that suits speech and the expected working distance.
- Off-axis response: Check polar plots at several frequencies and listen for coloration as the speaker moves away from the main axis.
- Room suitability: A highly directional shotgun may work well outdoors but become less predictable around strong indoor reflections.
- Self-noise and sensitivity: Quiet dialogue benefits from low microphone and recorder noise, but close placement remains essential.
- Power and connection: Confirm phantom, battery, plug-in-power, connector, and input-level requirements.
- Physical size: Longer microphones may offer useful directivity but are harder to keep accurately aimed in small rooms or tight frames.
- Accessories: Include the cost and size of a compatible shock mount, windshield, cables, and boom support.
A Practical Listening Test
Specifications are most useful when followed by a controlled listening comparison. Record the same speaker, words, room, distance, and angle with each microphone. Adjust gain so the recordings have comparable levels rather than assuming the louder microphone sounds better.
- Record a normal speaking voice directly on-axis.
- Repeat with the speaker slightly off-axis to reveal tonal changes.
- Test the microphone at the actual boom or camera distance.
- Include a few seconds of room tone to compare hiss and ambience.
- Try available low-cut settings while listening for lost vocal body.
- Monitor for handling noise while moving the boom or operating the camera.
Use good headphones during the test. Small speakers can hide low-frequency vibration, subtle hiss, and off-axis coloration that becomes clear during editing.
Common Frequency-Response Mistakes
- Assuming 20 Hz–20 kHz coverage guarantees a natural voice.
- Choosing the narrowest pattern without considering off-axis tone.
- Using extra gain to compensate for excessive microphone distance.
- Applying a low-cut filter so aggressively that the voice loses body.
- Ignoring room reflections because the microphone is described as highly directional.
- Comparing self-noise figures measured with different weighting methods.
- Expecting a shotgun microphone to remove noise arriving from the same direction as the speaker.
Conclusion
For natural dialogue, frequency response should be treated as a curve rather than a range. Smooth on-axis response, controlled off-axis coloration, accurate placement, and a suitable room matter more than whether the specification begins at exactly 20 Hz.
Use the published charts to identify promising microphones, then listen under realistic conditions. Keep the microphone close, aim it carefully, and support it with appropriate power, mounting, and wind protection. Those choices usually have a greater effect on the finished voice track than any single number in the specification sheet.
FAQ
Does a shotgun microphone need a 20 Hz–20 kHz response for natural dialogue?
No. Those endpoints do not describe the shape of the response between them. A microphone with a higher low-frequency limit can still capture natural speech if its usable response is smooth and well balanced.
Is a perfectly flat response always best for voice?
No. A smooth shaped response can improve articulation or reduce unwanted rumble. The goal is an appropriate tonal balance without severe peaks, dips, or excessive sibilance.
What polar pattern does a shotgun microphone have?
Many are described as supercardioid, hypercardioid, lobar, or a combination of those terms. The pattern can change with frequency, so the manufacturer’s multi-frequency polar plots are more informative than a single label.
Can a shotgun microphone sound natural indoors?
Yes, particularly with close placement in a controlled room. Strong reflections can make some interference-tube microphones sound colored, so a compact hypercardioid or supercardioid microphone may be easier to use in a small reflective space.
Is there a required self-noise figure for voice recording?
There is no universal threshold. Lower self-noise becomes more important for quiet sources and quiet rooms. Placement, microphone sensitivity, recorder noise, and the ambient sound level must also be considered.
Should the low-cut filter always be enabled for dialogue?
No. Use it when low-frequency rumble, wind, handling noise, or HVAC noise is a problem. Compare the filtered and unfiltered recordings because an aggressive filter can make some voices sound thin.
Do all shotgun microphones need 48-volt phantom power?
No. Many professional XLR models use 48-volt phantom power, while others can run from batteries or different supplies. Compact camera, mobile, and USB microphones may use plug-in power or bus power instead.
Does a longer shotgun microphone provide more reach?
A longer interference tube can extend directional behavior toward lower frequencies, but it does not magnify distant sound. Distance still reduces the direct voice level and increases the relative amount of ambience. Closer placement remains the more reliable solution.
Sources and further reading

The FieldMic Pro Editorial Team creates practical, research-based guides about microphones, recording techniques, audio equipment, and sound troubleshooting. Our articles are reviewed using official documentation, technical references, and clearly identified sources.