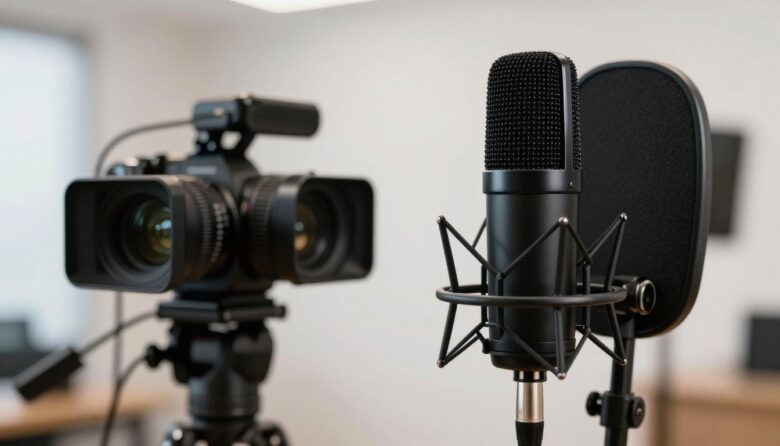
Clean on-camera audio depends on leaving enough headroom for unexpected peaks while keeping the signal comfortably above the camera’s noise floor. The goal is not to push the meter as high as possible. It is to set every stage in the recording chain so that normal speech is clear and the loudest expected moment remains below clipping.
There is no universal “correct” peak such as -4 dBFS. Cameras use different meters, preamps, automatic controls, and warning indicators. As a practical starting point, set the loudest expected speech near -12 dBFS when the camera provides a numerical meter. If the display has only colored segments, keep loud test phrases below the clipping or red area. Then confirm the result through headphones.
Key Takeaways
- Keep digital levels below 0 dBFS, where the recording system runs out of headroom.
- Set gain while the subject delivers the loudest line or sound expected in the scene.
- Check both the microphone and camera because either device can overload first.
- Use headphones as well as meters; a meter cannot reveal loose plugs, interference, wind, or every form of distortion.
- Treat pads, limiters, and safety tracks as safeguards, not substitutes for correct gain and microphone placement.
What Audio Clipping Actually Means
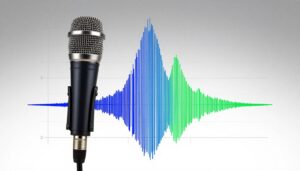
In a digital recording system, 0 dBFS represents the maximum recordable level. When the signal tries to exceed that limit, additional amplitude cannot be represented correctly. Repeated samples may be held at the maximum value, producing digital clipping.
A visibly clipped waveform often has flattened or squared-off peaks. However, waveform appearance is not a complete diagnostic tool. A microphone’s internal electronics, a wireless transmitter, an external preamp, or the camera’s analog input can distort before the recorded file reaches 0 dBFS. Later processing may also make the waveform look less obviously flat even though the distortion remains audible.
Why Headroom Matters
Speech is dynamic. A person may speak quietly during the test and then laugh, shout, emphasize a word, or turn directly toward the microphone during the take. Leaving several decibels of unused level gives those changes somewhere to go.
For unpredictable dialogue, a peak near -12 dBFS during the loudest test phrase is a useful starting point rather than a formal standard. Some manufacturers recommend more conservative operation. Canon’s XA10 manual, for example, advises setting its meter so that the level moves just beyond the -18 dB mark only occasionally. Follow the instructions and meter markings for the camera you are actually using.
Clipping Can Happen at More Than One Stage
An on-camera recording chain may include the microphone capsule, the microphone’s internal preamp, an output-level control, the camera input, the camera preamp, and the analog-to-digital converter. Lowering the camera’s gain will not repair distortion that has already occurred inside the microphone. Likewise, a clean microphone output can still overload a camera input that is set too high or receiving the wrong signal level.
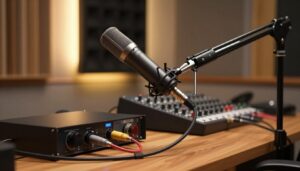
This is particularly important when connecting an external mixer or recorder. A line-level output can overload a camera input designed only for microphone-level signals. Check both devices before connecting them; the differences are also covered in this guide to XLR and 3.5 mm shotgun microphone systems.
How to Set Gain on an On-Camera Microphone
1. Improve Microphone Position Before Adding Gain
Start with placement. An on-camera microphone several feet from the speaker receives more room sound and less direct voice than the same microphone positioned close to the subject. Increasing gain raises the wanted voice and the unwanted noise together.
Point the microphone toward the speaker and move it as close as the framing and shooting method allow. If the camera must remain far away, placing the microphone on a boom is usually more effective than increasing camera gain. See boom pole versus on-camera mounting for practical placement options.
2. Select Manual Audio Control When Available
Automatic gain control can be useful when there is no operator, but it may raise the level during pauses and pull background noise forward. For controlled dialogue, use manual recording level if the camera provides it. Confirm that the correct external input is selected and that the left and right channels are routed as intended.
Do not confuse headphone volume with recording gain. The headphone control changes how loudly you hear the signal; it normally does not change the level being recorded.
3. Set the Microphone’s Output
If the microphone is powered and has an adjustable output, start at the manufacturer’s recommended setting. Some active on-camera microphones are designed to provide a relatively strong signal so the camera’s noisier preamp can be kept low. That approach is product-specific and should not be applied blindly to every microphone.
Watch for a clipping or peak-warning light on the microphone itself. On the RØDE VideoMic NTG, for example, a red peak light indicates that its internal preamp is clipping; RØDE advises engaging the microphone’s pad in that situation. Lowering only the camera gain would not remove distortion produced earlier in the chain.
4. Test the Loudest Expected Performance
Ask the speaker to deliver the loudest likely line at the real performance distance. A quiet “test, one, two” is not useful if the scene includes excited speech, laughter, or shouting.
Adjust the recording gain while watching the meter. On a numerical dBFS display, begin with loud speech peaking near -12 dBFS and revise that target if the camera manual specifies a different operating area. On a simplified display, look for healthy movement without reaching the top or triggering the clip warning.
5. Listen Through Headphones
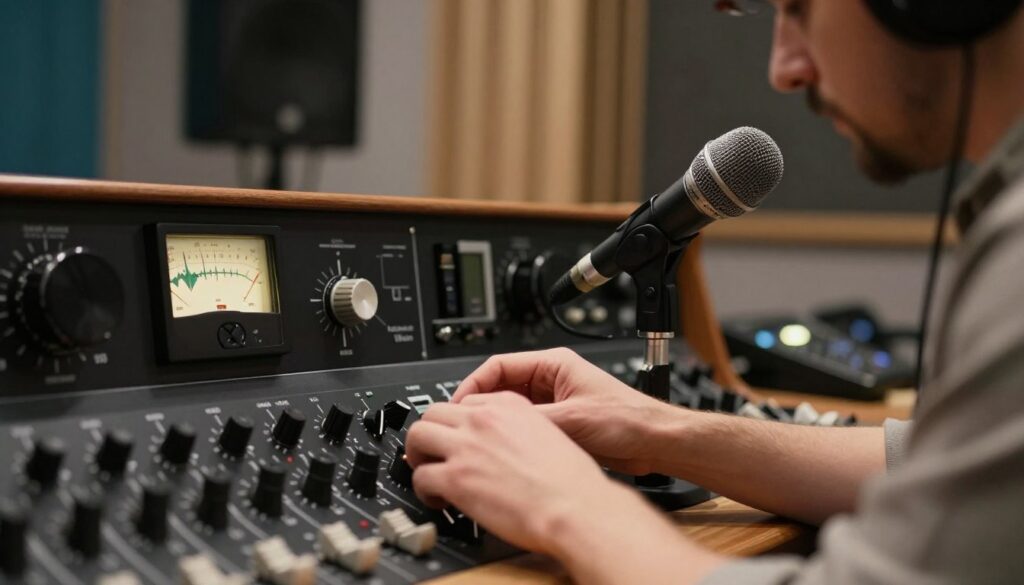
Meters show level, not overall recording quality. Headphones can reveal a partially inserted cable, radio interference, handling noise, clothing contact, wind, autofocus motors, or distortion occurring before the camera meter.
Keep monitoring volume at a comfortable level. If the signal sounds distorted while the camera meter remains low, inspect the microphone, transmitter, adapter, and output settings rather than immediately adding or removing camera gain.
6. Record and Review a Short Test
Record several seconds, stop, and play the file back. Check that both intended channels were recorded and that the sound remains clean during the loudest section. A brief review is especially valuable when using a new cable, camera body, microphone, or adapter.
Recheck levels whenever the microphone distance, speaker, location, or type of performance changes. A setting that works for seated conversation may not provide enough headroom for an energetic presentation.
Using Pads, High-Pass Filters, Limiters, and Safety Tracks
Microphone Pads
A pad reduces signal level before a later stage in the chain. It is useful when a loud source is overloading the microphone’s electronics or the next input even with gain set low. Engage it only when needed, because unnecessary attenuation may force you to add more gain later.
A camera’s microphone attenuator serves a similar purpose at its input. If the camera meter remains too high at the lowest practical manual setting, an attenuator or a lower microphone output may provide the required headroom.
High-Pass Filters
A high-pass filter reduces low-frequency energy from wind, traffic, air conditioning, footsteps, and handling. It can prevent low-frequency rumble from dominating the meter, but it is not a general clipping cure and should not be used to compensate for excessive gain.
Wind protection remains the first line of defense outdoors. A suitable windshield can prevent severe turbulence before it reaches the capsule; the differences between common options are explained in deadcat and foam wind protection.
Limiters
A limiter reduces peaks that cross its threshold. Hardware limiters in some field recorders can provide useful protection against brief, unexpected transients. Their effectiveness depends on where they sit in the signal path. A limiter cannot repair clipping that happens before the limiter, and a plug-in added during editing cannot prevent clipping already recorded by the camera.
Avoid copying generic threshold, ratio, and attack settings between devices. On-camera microphones and cameras often provide limited or fixed control, while professional recorders may offer adjustable thresholds and release times. Use the relevant manual and listen for pumping, dull transients, or other audible side effects.
Safety Channels
A safety channel records a second copy at a lower level. If the main channel clips at a later point in the chain, the quieter channel may preserve the peak. The amount of attenuation is device-specific rather than universally 6, 10, or 20 dB.
For example, the RØDE VideoMic NTG’s safety channel is 20 dB below its main channel. Zoom’s F4 provides dual-channel recording with independently adjustable levels and processing. Read the device manual to determine how its safety function is routed and whether it occupies the second side of a stereo camera input.
A safety channel is not guaranteed to rescue every overload. If both channels share an earlier stage that clips, both may contain the same distortion. It also cannot replace a disconnected cable, failed battery, or badly positioned microphone.
Common Gain-Setting Mistakes
- Aiming just below 0 dBFS: Peaks near -4 dBFS leave little room for a louder word or laugh.
- Testing with an unrealistically quiet voice: Set levels from the loudest expected performance, not casual setup speech.
- Turning up the camera to compensate for distance: This raises room noise and preamp hiss without improving the direct-to-reverberant balance.
- Ignoring the microphone’s warning light: The microphone can distort before the camera indicates clipping.
- Monitoring meters without headphones: Correct meter movement does not confirm that the cable, wind protection, or signal path is clean.
- Assuming a limiter makes clipping impossible: Earlier analog stages may still overload.
- Changing headphone volume instead of input gain: These controls perform different jobs.
If lowering camera gain produces obvious hiss, do not simply accept the noise or push the recording back toward clipping. Check microphone distance, active microphone output, cable compatibility, and camera preamp settings. The troubleshooting steps in how to fix hiss and background static can help identify the noisy stage.
What to Do When a Recording Has Clipped
Use the Cleanest Alternate Track
Check the safety channel, separate recorder, second microphone, or another camera before attempting restoration. A clean alternate track is normally more useful than a heavily processed version of the clipped file.
Identify Whether the Distortion Is Actually Clipping
Harsh sound can also come from wind, radio interference, a damaged cable, poor automatic gain behavior, or a microphone capsule overloaded by an extremely loud source. Inspect the waveform, listen to each channel separately, and compare the camera track with any internally recorded microphone or recorder file.
Use De-Clipping Conservatively
De-clipping software estimates the shape of waveform peaks that were lost during overload. It may make mild or brief clipping less distracting, but it cannot recover the exact original signal. Process a copy of the file, preview short sections, and compare the result at matched playback volume.
Normalization, compression, or simply reducing clip gain will make the file quieter but will not restore flattened peaks. Additional heavy processing may make the distortion more noticeable.
Clipping and Equipment Safety
A clipped recording does not automatically damage a microphone, camera preamp, or speaker. Clipping is primarily a signal-quality problem. The more relevant hardware concerns are exposing a microphone to sound pressure beyond its specified limit, feeding an incompatible electrical level into an input, or monitoring at an unsafe playback volume.
A pad provides headroom; it should not be presented as protection against routine circuit damage. Similarly, a high-pass filter and limiter are signal-management tools, not substitutes for checking compatibility and operating equipment within the manufacturer’s specifications.
Mechanical vibration can also create large, distracting low-frequency peaks. A suitable suspension reduces noise from camera handling and movement; see why a shotgun microphone needs a shock mount.
A Quick On-Set Checklist
- Mount and aim the microphone as close to the speaker as the shot permits.
- Confirm the correct input, cable, channel routing, and power settings.
- Select manual audio level when appropriate.
- Set the active microphone’s output according to its manual.
- Ask for the loudest expected line and adjust the camera gain.
- Leave clear headroom below 0 dBFS or the meter’s clip area.
- Check microphone and camera peak indicators.
- Listen through headphones.
- Enable a pad, limiter, or safety channel only when the situation calls for it.
- Record and review a short test before the important take.
FAQ
What peak level should I use for on-camera dialogue?
There is no setting that suits every camera. When the meter is marked in dBFS, loud speech peaking near -12 dBFS is a practical starting point that leaves 12 dB before full scale. Follow the camera manual if it recommends a different area. Never treat -4 dBFS as a universal target.
What does 0 dBFS mean?
It is the maximum digital level the recording system can represent. A fixed-point recording cannot store a higher sample value, so attempting to exceed that limit causes digital overload or clipping.
Why does the audio sound distorted when the camera meter is not red?
An earlier stage may be clipping. Check the microphone’s peak indicator, output gain, pad, wireless transmitter, mixer output, adapters, and camera input type. Distortion created before the camera’s meter may be recorded at an apparently moderate level.
Should I lower camera gain and raise the microphone output?
That can reduce camera-preamp noise when using an active microphone designed for a strong adjustable output. It is not a universal rule. Start with the microphone manufacturer’s instructions and verify the result by recording a test.
Can automatic gain prevent clipping?
Automatic gain may reduce the level when sound becomes loud, but its response and available headroom vary. It can also raise background noise during quiet moments. Use manual control for predictable dialogue when the camera and shooting situation allow it.
Will a limiter guarantee clean audio?
No. It can control peaks only at the point where it is inserted. A capsule, transmitter, microphone preamp, or camera input located earlier in the chain can still overload.
How far below the main track should a safety track be?
Use the value provided by the device rather than assuming one figure. Some products use a fixed offset, while field recorders may allow independent adjustment. Confirm that both channels are being recorded before the take.
Can a high-pass filter stop clipping?
It can reduce large low-frequency peaks caused by wind or handling, but it will not prevent overload from loud speech or an incorrectly matched output. Correct the source of the excessive level first.
Can clipped audio be repaired completely?
Usually not. De-clipping tools may reduce the audible effect of mild clipping by estimating missing peaks, but the exact original waveform was not recorded. A clean safety track or alternate microphone is preferable.
Does clipped audio damage equipment?
Not by itself. The main consequence is audible distortion. Protect equipment by following its input-level and maximum-SPL specifications, and keep headphone and speaker playback at a safe volume.
Sources and further reading

The FieldMic Pro Editorial Team creates practical, research-based guides about microphones, recording techniques, audio equipment, and sound troubleshooting. Our articles are reviewed using official documentation, technical references, and clearly identified sources.